

Phase 4: Interior Cedar Cladding & Benches
You're getting closer! The finish line is finally in sight!
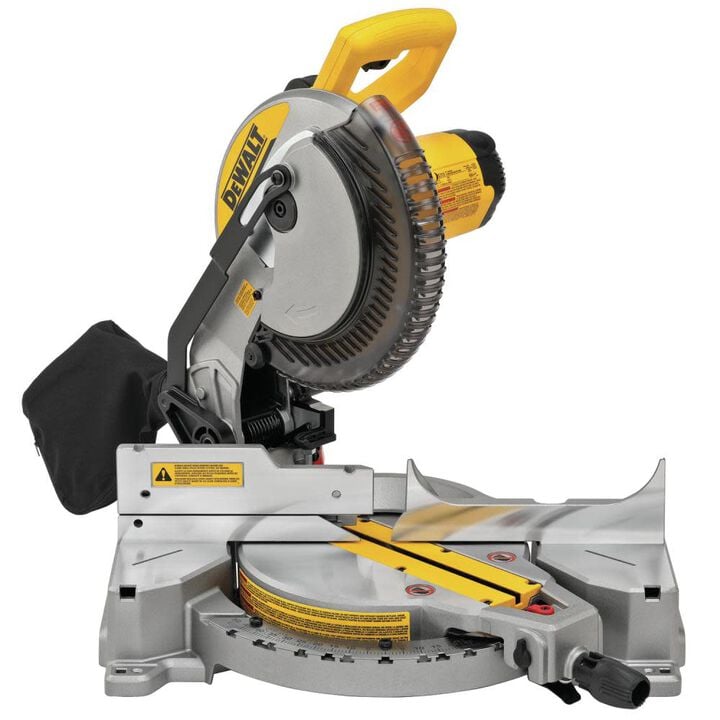
Tools Needed: Cordless/Pneumatic Brad Nailer, Miter Saw, Countersink Drill Bit
Materials Needed:
* 1x2 wooden furring strips (to create the air gap)
* Untreated tongue-and-groove cedar boards (for walls and ceiling)
* Smooth, knot-free cedar boards (for bench tops)
* Framing 2x4 lumber (for the structural bench sub-frame)
* Stainless steel brad nails
* 2.5-inch star-drive premium wood screws (for benches)


Step-by-Step Instructions
Create the Air Gap (Furring Strips): Before hanging cedar, nail vertical 1x2 wooden furring strips directly over the studs on top of the foil. This creates a critical 3/4-inch air gap behind your walls, preventing trapped moisture from rotting your wood and growing mold.
Wall Cladding: Measure and cut your untreated cedar tongue-and-groove boards. Starting from the bottom of the walls and moving up to the ceiling, lock the boards together and use your brad nailer to shoot stainless steel nails through the tongues directly into the 1x2 furring strips.
Frame the Benches: Do not just screw slats together. First, build a rugged sub-frame out of 2x4 lumber and anchor it directly through the cedar walls into the wall studs so it can easily support the weight of multiple people.
Finish the Benches: Use your miter saw to cut smooth, knot-free cedar boards for your bench tops. When screwing the benches to your sub-frame, use a countersink drill bit to pre-drill the holes. This buries the screw heads deep into the wood so the hot metal can never touch and burn your skin.
For phase 5 of your build, CLICK HERE


0 Comments