


Phase 1: The Foundation & Floor
There is nothing quite like the feeling of stepping out of a blistering, wood-fired sauna and into the crisp outdoor air. But before you can kick back, throw water on the rocks, and watch the steam rise, you have to start from the ground up. This is where your dream backyard retreat officially becomes a reality. Phase 1 is all about clearing a quiet corner of your property and building a rock-solid, perfectly level base that will support your sauna for decades to come.
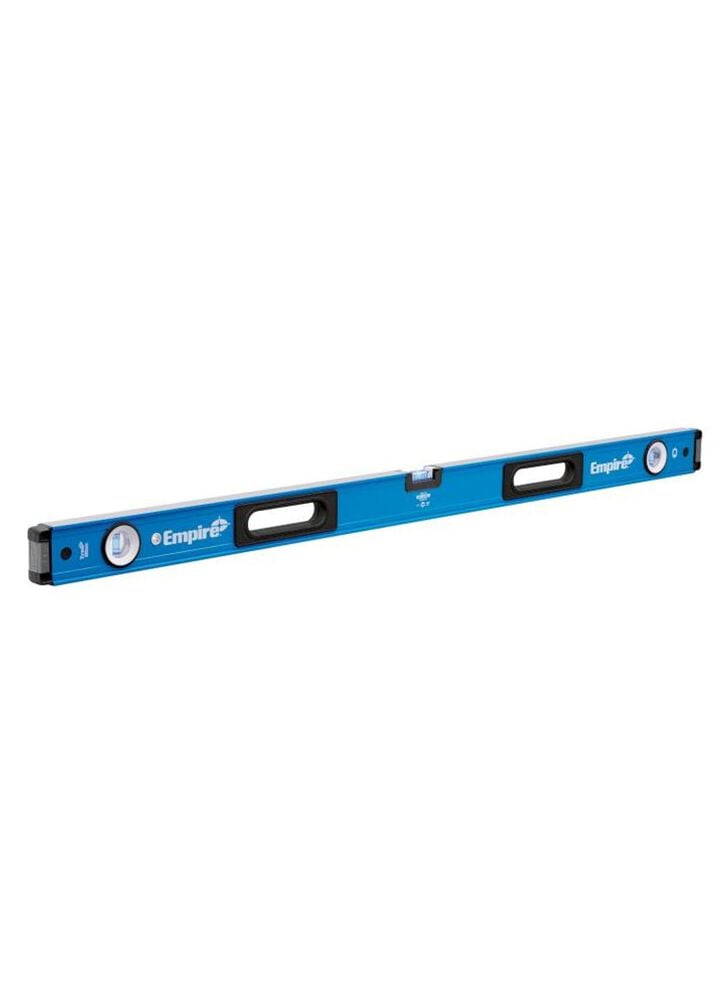
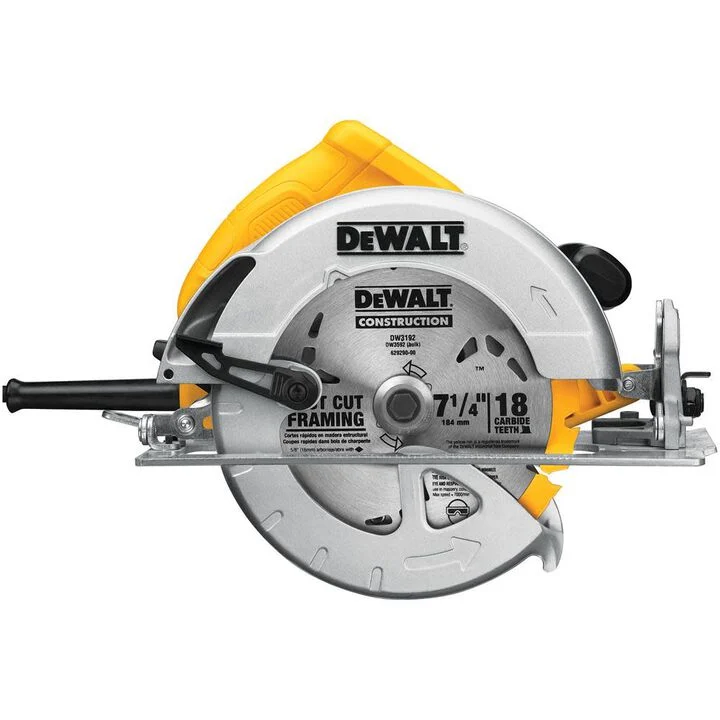
Tools Needed: 4-Foot Level, Tape Measure, Drill, and Miter Saw (or Circular Saw).
Materials Needed:
* 4 Concrete deck blocks
* Treated 2x6 boards (for the outer frame and joists)
* Treated deck boards (for the floor surface)
* Heavy-duty twist ground anchors
* 3-inch exterior star-drive construction screws


Step-by-Step Instructions
Level and Anchor the Ground: Lay out your 4 concrete deck blocks in a 6’ x 6’ square. Use your 4-foot level to ensure they are completely flat relative to each other. If one is too high, dig a little dirt out from under it. Anchor the upcoming wood frame to the blocks or ground using heavy-duty twist anchors to protect against wind.
Cut the Base: Use your saw to cut your treated 2x6 boards to create a 6’ x 6’ outer frame with joists running every 16 inches.
Assemble and Floor: Screw the frame together using your drill. Use the saw to cut your deck boards to 6-foot lengths, and screw them down across the top, leaving a tiny 1/16-inch gap between boards so water can drain straight through the floor.
For phase 2 of your build, CLICK HERE
0 Comments