


Phase 2: Framing the Box
You made it back for Phase 2! Time to get after it!
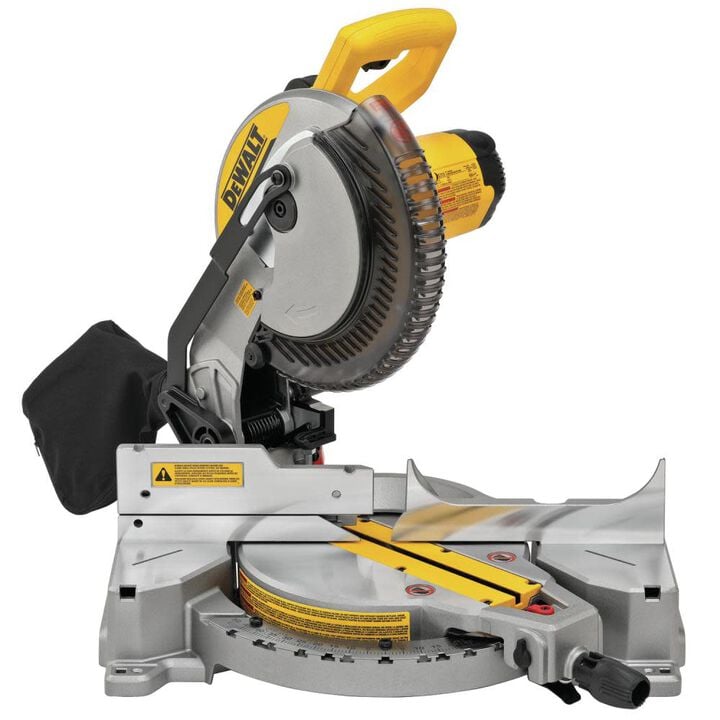
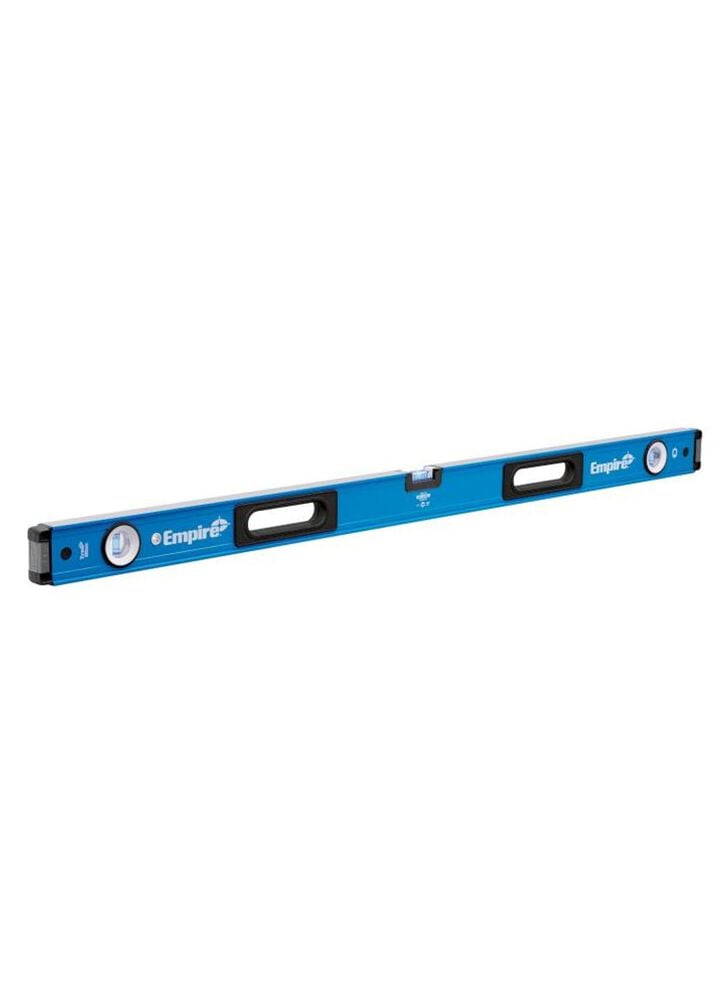
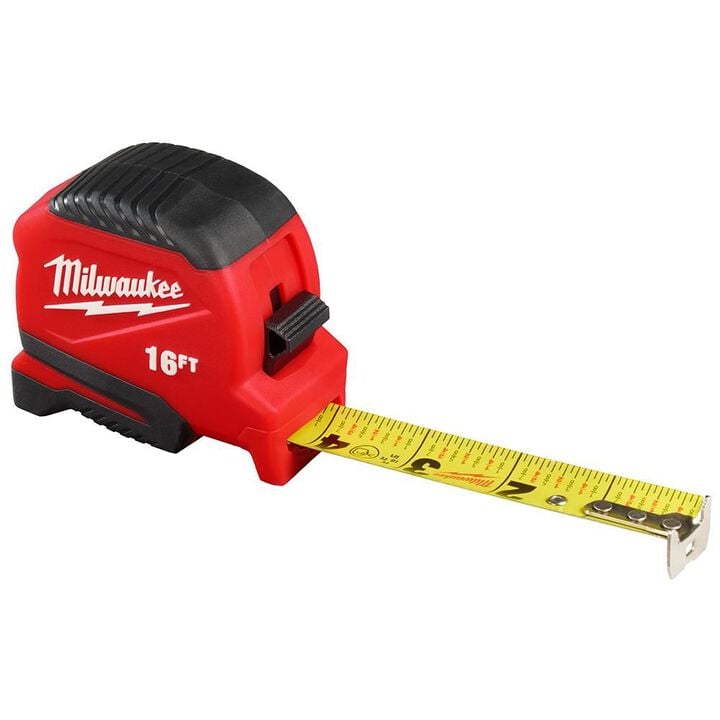
Tools Needed: Miter Saw, Drill, 4-Foot Level, Tape Measure
Materials Needed:
*Framing 2x4 studs (for walls and roof rafters)
*Outdoor plywood sheets (for the roof deck)
*Waterproof roofing underlayment (ice and water shield)
*Metal drip edges
*Roofing shingles or corrugated metal panels
*Outward-swinging sauna door (with non-locking roller catch) and small window
*3-inch exterior star-drive construction screws

Step-by-Step Instruction
Cut the Studs: Use your miter saw to cut your 2x4 framing studs to 7 feet.
Build the Walls: On the flat floor you just built, lay out your studs 16 inches apart between a top and bottom plate. Screw them together to build four separate wall panels. Frame out a rough opening for an outward-swinging door (for safety) and a small window.
Raise the Walls: Stand the walls up one by one. Use your 4-foot level to make sure they are perfectly vertical (“plumb”) before screwing them securely into the floor and to each other.
The Roof Structure: Cut 2x4 rafters to stretch across the top of the walls, giving them a slight slope so rain and snow melt runs off away from the lake. Screw down outdoor plywood over the rafters.
Weatherproof the Roof: Do not leave raw plywood exposed. Lay down a waterproof roofing underlayment (like ice and water shield) over the plywood, install a metal drip edge, and cap it with asphalt shingles or corrugated metal panels to stop leaks completely.
For Phase 3 of your build, CLICK HERE
0 Comments