

This guide walks you through building a durable outdoor bar using a simple 2x4 frame, cedar fence pickets, and a solid wood bar top. The finished bar is sturdy, weather-resistant, and easy to customize with stain and hardware.
Please note the images in this blog are for inspiration, and may not be exact
Recommended Finished Dimensions
- Height: 42 inches
- Depth: 24 inches
- Width: 60–72 inches
- Front Overhang: 8 inches
- Side Overhang: 6 inches
- Rear Overhang: 1 inch
Adjust dimensions as needed to fit your space.
Materials
Lumber
- 2x4 framing lumber
- Cedar fence pickets (dog-eared style works well)
- One 2x12 for the bar top
- One 2x4 for the bar top edge
(Purchase locally)
Hardware
- 2-1/2-inch exterior wood screws
- 3-inch exterior wood screws
- 1-1/2-inch galvanized finish nails
- Exterior-rated wood glue
- Four 2-inch or 3-inch locking casters
Finishing Supplies
- Wood stain
- Pre-stain wood conditioner
- Water-based exterior spar urethane
- Wood filler or wood putty
- Wood dowels (optional)
Tools


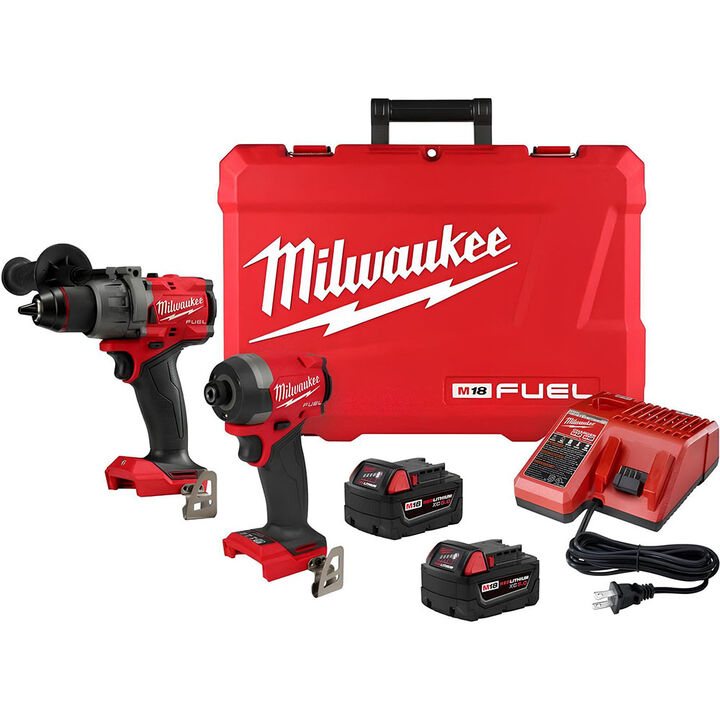


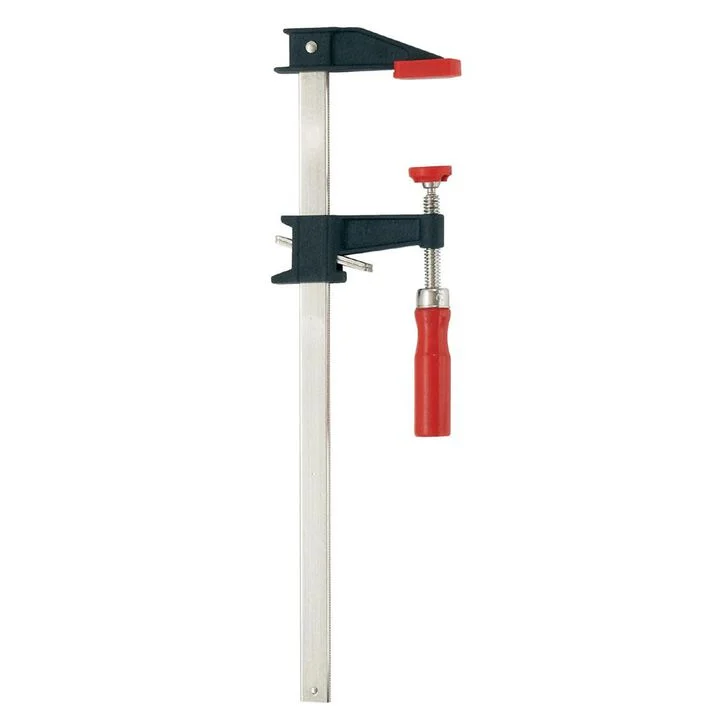

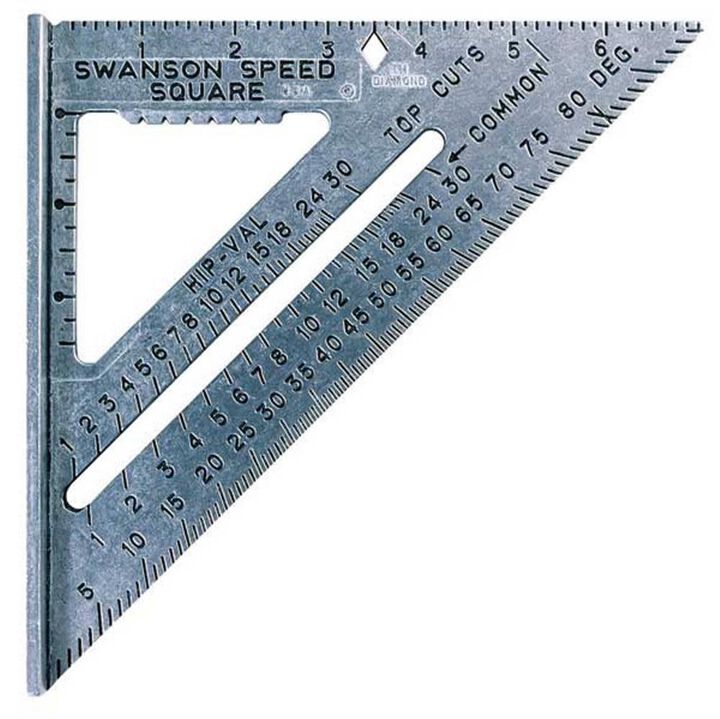
Phase 1: Build the Frame
Prepare the Lumber
Cut your 2x4s to length for the frame. If using casters, subtract their height from your desired finished bar height.
For a cleaner finished product, sand rough edges or run boards through a planer if available.
Assemble the Outer Frame
Build rectangular side frames using 2x4s.
Connect the sides with front and rear horizontal 2x4s at the top and bottom.
Check for square before fastening.
Add Structural Support
Install a vertical 2x4 support in the center of each side and front panel.
Add at least one horizontal brace across the rear of the bar to prevent racking and increase rigidity.
Fasten the Frame
Pre-drill pilot holes to prevent splitting.
Secure all framing members with 3-inch exterior screws.
Pocket-hole joinery works best, but structural screws or carefully installed angled screws are also effective.
Phase 2: Install the Cedar Siding
Prepare the Fence Pickets
Cut off the dog-eared tops.
Rip approximately 1/8 inch off both long edges on a table saw to create uniform, square edges.
Lightly sand the faces and edges.
Install the Siding
Attach cedar planks horizontally across the front and sides of the bar.
Use a finish nail gun with 1-1/2-inch galvanized finish nails.
Leave Expansion Gaps
Use a finish nail or spacer to maintain approximately a 1/16-inch gap between boards.
This allows the cedar to naturally expand and contract with seasonal moisture changes.
Add Bottom Trim
Rip a cedar plank into a 2-inch strip.
Install it around the base of the bar, mitering corners at 45 degrees for a finished appearance.
Phase 3: Build the Bar Top and Shelf
Assemble the Bar Top
Position a 2x12 and a 2x4 side-by-side to create the bar surface.
Apply exterior-rated wood glue along the joint and clamp the boards together.
Allow the front of the top to overhang approximately 8 inches and the sides about 6 inches.
Secure the Top
Attach the bar top from underneath by driving 2-1/2-inch screws through the frame into the underside of the top.
Avoid driving screws through the visible top surface whenever possible.
Build the Interior Shelf
Measure down from the top to determine your shelf height.
Make sure there is enough clearance for bottles, mixers, and other bar supplies.
Install 2x4 ledger boards along both sides and across the front.
Lay cedar planks across the ledgers to create the shelf surface.
Secure with finish nails or screws.
Phase 4: Sanding and Surface Preparation
Fill Imperfections
Fill visible screw holes, knots, and defects using wood filler or wood putty.
Allow the filler to dry completely before sanding.
Sand the Entire Bar
Always sand with the grain.
For rough lumber:
- 80-grit
- 120-grit
- 180-grit
- 220-grit
For already smooth lumber, start at 120-grit.
Round over sharp corners slightly for comfort and durability.
Clean the Surface
Vacuum or blow away dust.
Wipe all surfaces with a damp microfiber cloth.
Apply Wood Conditioner
Apply a pre-stain wood conditioner according to the manufacturer's instructions.
This helps stain absorb evenly and reduces blotchiness.
Phase 5: Wheels, Stain, and Protective Finish
Install Casters
Flip the bar upside down.
Mount the locking casters to the bottom frame using exterior screws.
Position them near the corners but slightly inset so the locks remain easy to access.
Apply Stain
Using a clean cloth or staining pad, apply stain in long, even strokes following the grain.
Use a brush to reach corners and tight areas.
Wipe away excess stain before it dries.
Allow the stain to cure according to the manufacturer's recommendations.
Apply Spar Urethane
Apply a coat of exterior-rated water-based spar urethane using a quality brush or foam applicator.
Allow the finish to dry according to the manufacturer's instructions—typically 1–2 hours between coats under normal conditions.
Apply three coats to all surfaces.
Create a Smooth Bar Top Finish
After the third coat dries completely:
1. Lightly sand the bar top with 400-grit sandpaper.
2. Remove all sanding dust with a microfiber cloth.
3. Apply a final coat of spar urethane.
For maximum durability and a smoother finish, apply a fifth coat to the bar top.
Final Result
You'll have a sturdy, weather-resistant outdoor bar featuring:
- Solid 2x4 construction
- Cedar-clad exterior
- Spacious serving top
- Interior storage shelf
- Locking caster wheels
- UV- and moisture-resistant finish
With proper maintenance and occasional re-coating of the spar urethane, this bar can provide years of outdoor use.




0 Comments