

This project makes a basic two-player cribbage board from one small piece of wood. It uses two 60-hole tracks, so players travel around the board twice before moving into the final game hole at 121.
You do not need a router, drill press or advanced woodworking experience.
Materials
- One 1-by-4 board cut to 14 inches long
- Four cribbage pegs—two colors, two pegs per player
- Pencil
- Painter’s tape
- Small finish nail
- Optional stain, paint or clear finish
Have the lumber store cut the board to 14 inches so you do not need a saw.
tools
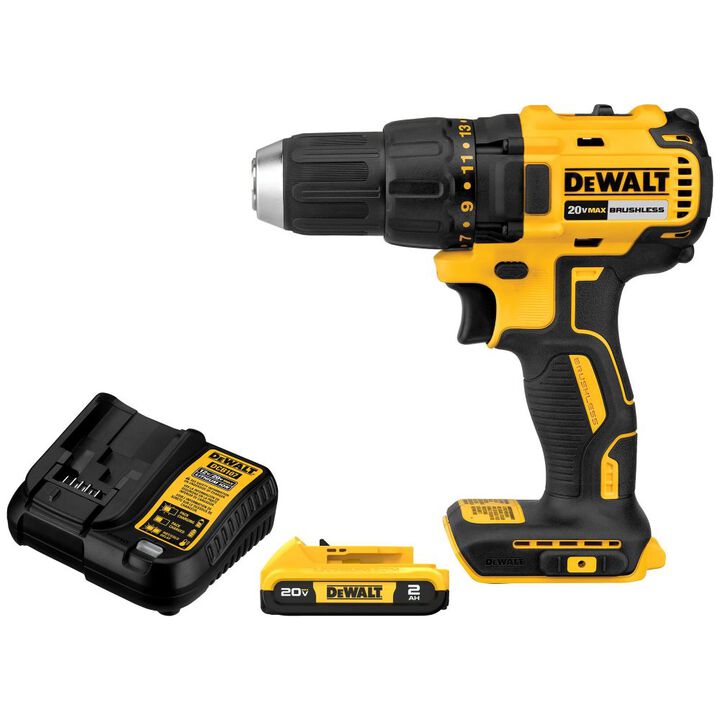
- Drill
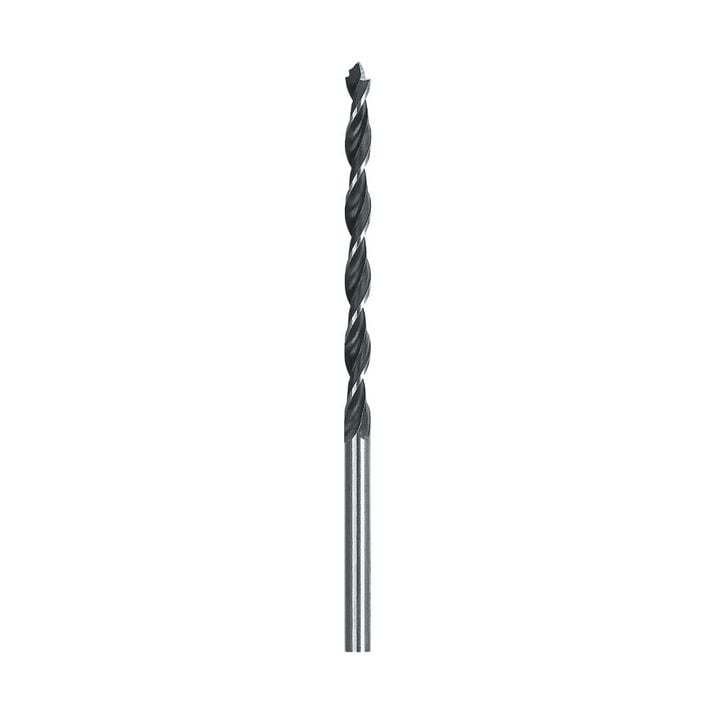
- Drill bit
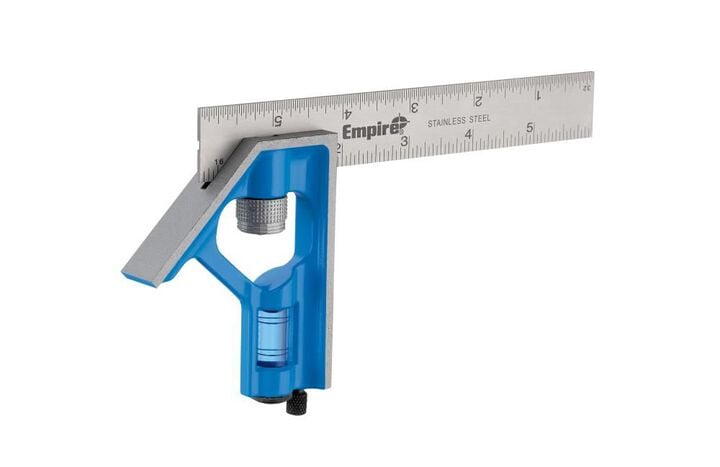
- Measuring tool
- Clamp
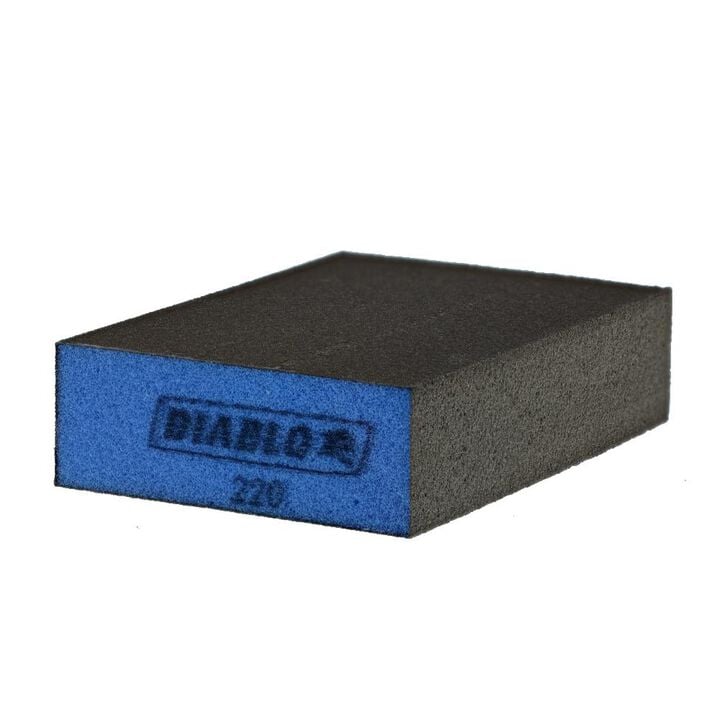
- Sanding
- Eye protection
A brad-point bit is especially helpful because its pointed tip starts where you place it and reduces wandering and splintering in wood.



Step 1: Sand the Board
Lightly sand the top, sides and corners.
You are only trying to remove rough spots and splinters. The board does not have to look perfect.
Step 2: Draw Four Straight Lines
Lay the board vertically in front of you.
Measure from the left edge and draw four lines running the length of the board:
- First line: ½ inch from the left
- Second line: 1¼ inches from the left
- Third line: 2¼ inches from the left
- Fourth line: 3 inches from the left
The first two lines belong to Player 1. The other two belong to Player 2.
Step 3: Mark the Holes
Measure 1½ inches from the bottom and make the first mark on each line.
Continue making marks every ⅜ inch until each line has 30 marks.
That gives you:
- 30 holes going up
- 30 holes coming back
- 60 scoring holes for each player
The holes do not have to be perfectly spaced for the board to work.
Step 4: Add Start and Finish Holes
At the bottom of each player’s track:
- Put a start hole below the outside row.
- Put a finish hole below the inside row.
- Write a small S and F beside them.
Players begin at the start, travel up the outside row and return down the inside row. They complete that route twice and then move into the finish hole.
Step 5: Make Small Starter Dents
Place a finish nail on each mark and tap it gently with a hammer.
You only need a small dent. This gives the drill bit a starting point and helps prevent it from sliding.
Step 6: Prepare the Drill
Install the ⅛-inch brad-point drill bit.
Measure ½ inch from the tip and wrap painter’s tape around the bit. Stop drilling when the tape reaches the wood.
Test the hole size on a scrap piece first. Cribbage pegs vary slightly. Use a 9/64-inch bit instead if your pegs do not fit comfortably in a ⅛-inch hole.
Step 7: Clamp the Board
Place the board on top of a scrap piece of wood.
Clamp it securely to your work surface. The scrap wood protects the table and keeps the board supported.
Put on safety glasses before drilling.
Step 8: Drill the Holes
Hold the drill as straight as possible.
Drill slowly into each mark until the tape reaches the surface. You do not need to drill completely through the board.
Take breaks if necessary. This is the longest part, but it does not require special skill.
Step 9: Sand It Again
Lightly sand the top after drilling.
This removes small wood fibers around the holes. Blow or vacuum the dust out of the holes afterward.
Step 10: Customize the Board
You can leave the wood unfinished or add something simple:
- Write a name with a permanent marker.
- Paint each player’s track a different color.
- Add numbers after every fifth hole.
- Apply one or two coats of clear finish.
- Write “Start” and “Finish” at the bottom.
Keep heavy paint or finish out of the holes. If some gets inside, carefully run the drill bit through them again after everything dries.
Simplest Possible Summary
Sand the board, mark four rows, drill 30 holes in each row, add start and finish holes, sand again and insert the pegs.




0 Comments