

How to Hang a Shelf: A Simple Step-by-Step Guide
Hanging a shelf is a simple project that can make a room more organized, useful, and finished. The key is making sure the shelf is level, properly supported, and attached securely to the wall.
Tools and Materials Needed
- Shelf board
- Shelf brackets
- Stud finder
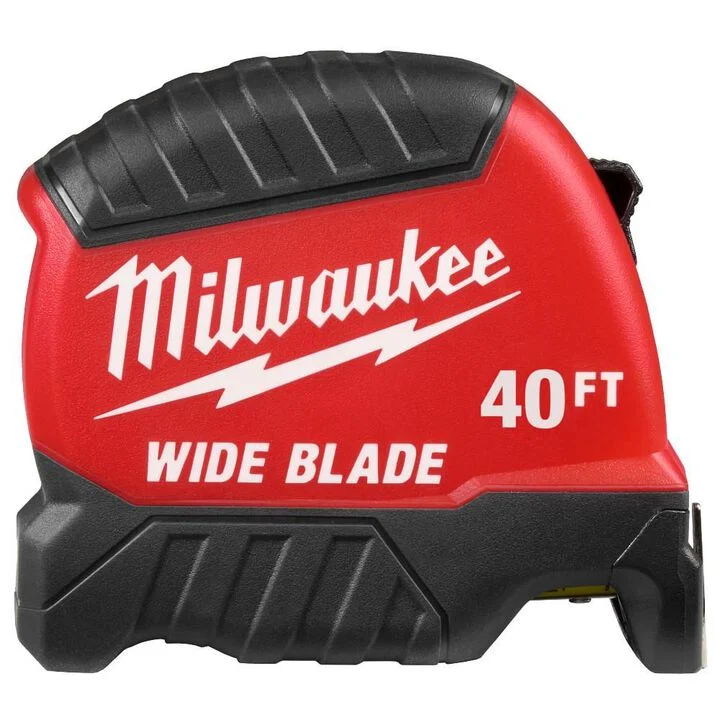
- Tape measure
- Pencil
- Level
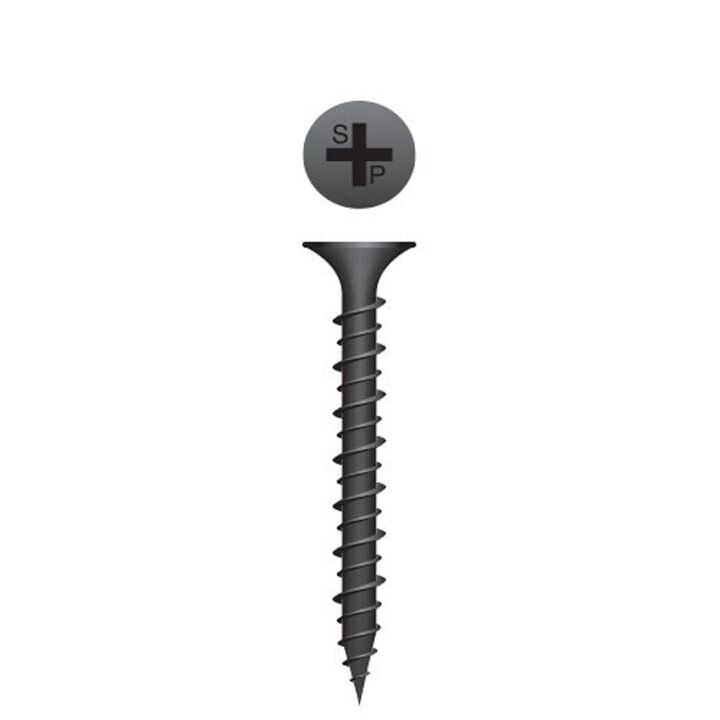
- Drill/driver or Phillips screwdriver
- Screws
- Drywall anchors
- Hammer



Step 1: Choose Where the Shelf Will Go
Decide where you want the shelf on the wall and how high you want it to sit.
If you want the top of the shelf to be at a certain height, remember to subtract the thickness of the shelf board.
For example:
If you want the top of the shelf at 54 inches and the shelf is 3/4 inch thick, mark your bracket height at 53 1/4 inches.
That way, once the shelf sits on top of the brackets, the finished height will be correct.
Step 2: Find the Studs
Use a stud finder to locate the wall studs behind the drywall.
Whenever possible, attach your shelf brackets directly into studs. Studs provide much stronger support than drywall alone, especially if the shelf will hold books, tools, decor, or heavier items.
Mark the stud locations lightly with a pencil.
Step 3: Mark the First Bracket
Hold your first bracket against the wall at the correct height.
Make sure the bracket is facing the correct direction, with the longer side sticking out to support the shelf.
Use a pencil to mark the screw holes.
Step 4: Drill a Pilot Hole
Drill a small pilot hole where you marked the screw location.
A pilot hole makes it easier to drive the screw straight and helps prevent the wood stud from splitting.
If you are drilling into a stud, use a screw long enough to pass through the drywall and bite into the stud. Since most drywall is about 1/2 inch thick, a 1 1/2 inch screw is often a good choice for basic shelf brackets, depending on the thickness of the bracket.
Step 5: Attach the First Bracket
Line the bracket back up with your pilot hole.
Drive the screw into the wall using a drill or screwdriver.
Do not fully tighten every screw until you are sure the bracket is straight and positioned correctly.
Step 6: Use a Level to Mark the Next Bracket
Place the shelf board across the first bracket.
Set a level on top of the shelf board and adjust the board until the bubble is centered.
Once the shelf is level, mark where the next bracket should go.
This helps make sure the shelf does not lean or look crooked.
Step 7: Install the Second Bracket
Hold the second bracket against the wall at your mark.
Make sure it is facing the same direction as the first bracket.
Mark the screw holes, drill pilot holes, and screw the bracket into place.
If this bracket lines up with a stud, screw directly into the stud.
Step 8: Add a Center Bracket if Needed
For longer shelves, a center bracket adds extra support.
Measure the distance between the two outside brackets and mark the center point.
For example, if the brackets are 48 inches apart, the center point is 24 inches.
Hold the center bracket in place, mark the holes, and check that it lines up with the rest of the shelf.
Step 9: Use Drywall Anchors When There Is No Stud
If your bracket does not line up with a stud, use drywall anchors.
For screw-in drywall anchors, lightly tap the anchor into the wall with a hammer until the threads reach the drywall. Then screw it in the rest of the way.
This helps prevent the tip of the anchor from breaking.
Once the anchor is flush with the wall, place the bracket over it and drive the screw into the anchor.
Step 10: Check That Everything Is Level
Before placing the shelf permanently, check the brackets again.
Use your level to make sure:
- The shelf will sit straight from left to right
- Each bracket is straight up and down
- The brackets are evenly spaced
Make small adjustments before fully tightening the screws.
Step 11: Place the Shelf on the Brackets
Set the shelf board on top of the brackets.
Center it by measuring the overhang on each side.
For example, if the shelf is 60 inches wide and the brackets cover 48 inches, that leaves 12 inches total of overhang. You would want about 6 inches on each side.
Step 12: Secure the Shelf from Underneath
Most shelf brackets have holes that allow you to screw upward into the bottom of the shelf.
Use short screws for this step.
If your shelf is only 3/4 inch thick, make sure the screws are shorter than that so they do not poke through the top.
Once secured, give the shelf a gentle test to make sure it feels stable.
Final Tips
- Always use studs when possible.
- Use drywall anchors only when a stud is not available.
- Check with your landlord before drilling holes if you rent.
- Use a level before marking every bracket.
- Do not overload the shelf beyond what the brackets and anchors can support.
- Use shorter screws when attaching the shelf from underneath
With the right measurements, solid brackets, and a level setup, hanging a shelf is a straightforward project that can be done with basic tools.




0 Comments