

Few things are more frustrating than getting ready to head to work, run errands, or leave on a trip only to discover your vehicle won't start because of a dead battery. A portable jump starter can help you get back on the road without waiting for assistance, but knowing how to use it safely and correctly is just as important as having one in your vehicle.

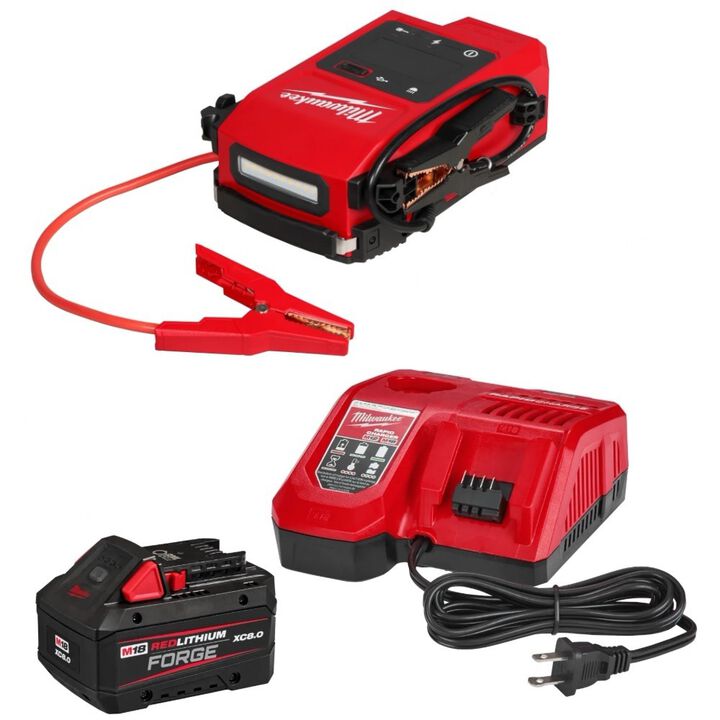

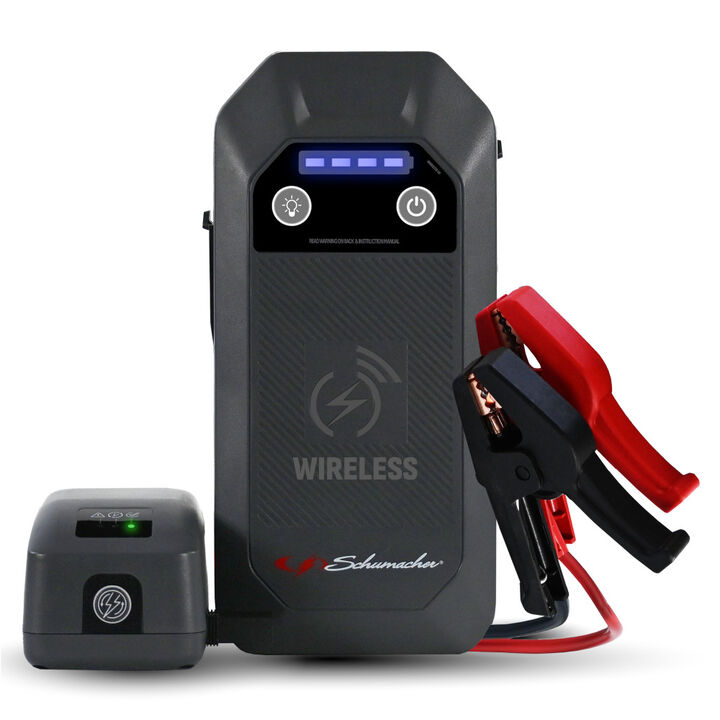
Step 1: Turn Off the Vehicle
Make sure your vehicle is turned off and in Park (or Neutral for a manual transmission) with the parking brake engaged.
Step 2: Connect the Jump Starter
Follow the instructions provided with your jump starter, but the process is generally:
- Connect the red clamp to the battery’s positive (+) terminal.
- Connect the black clamp to the battery’s negative (-) terminal or a recommended grounding point specified by the jump starter manufacturer.
Step 3: Power On the Jump Starter
Turn on the jump starter. Many modern units will automatically check for proper connections and indicate when the system is ready.
Step 4: Start the VehicleStep
Attempt to start the vehicle. If it doesn’t start immediately, wait a minute and try again.
Step 5: Disconnect the Jump Starter
Once the vehicle is running:
- Turn off the jump starter.
- Remove the black clamp.
- Remove the red clamp.
Store the jump starter safely and recharge it as recommended by the manufacturer.
Benefits of a Portable Jump Starter
- No second vehicle required
- Compact and easy to store
- Useful for emergencies, travel, and remote locations
- Many models include USB charging ports, flashlights, and air compressors
Pro Tip
Check the charge level of your portable jump starter every few months. A jump starter won’t help much if its battery is dead when you need it most. Keeping it fully charged ensures it’s ready when an unexpected dead battery strikes.


0 Comments