What’s the difference between a few edge-glued boards and an eye-grabbing tabletop? Usually it’s the decorative edge of the tabletop that sets it apart. Edges profiled with a router and any of hundreds of available bits transform common boards into beautiful, professional-looking, finished project parts. And they’re easy to make following these five simple guidelines.
Guideline #1: Use the right router.
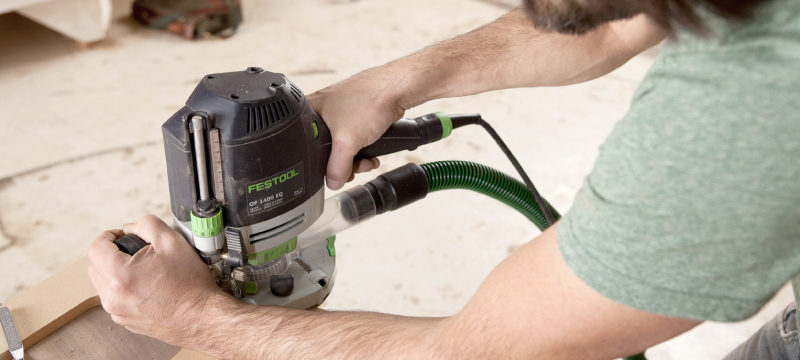
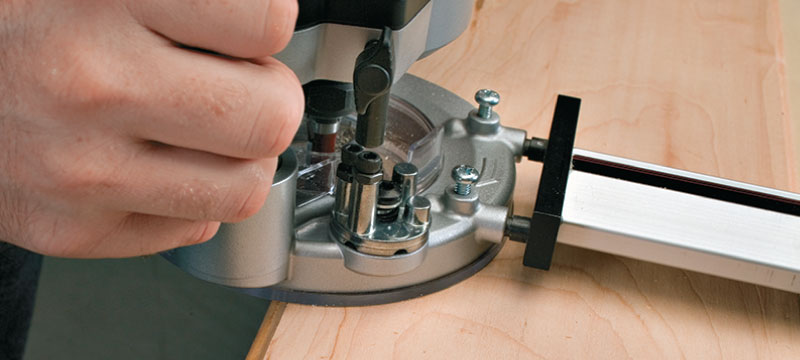
There are two basic types of routers: fixed-base and plunge. A fixed-base router has a motor that adjusts up and down within the base, but only when the router is off and you have free hands for making the adjustment. So during a cut the bit stays at a fixed depth. On the other hand, a plunge router has springs that fully raise a motor after you make a plunge cut with the router running, meaning you can change depth without taking your hands off the router. Fixed-base and plunge routers work fine for decorative edge cuts. To make cuts in the interior of a surface, such as keyhole slots or mortises, you’ll need a plunge router. Kits are available that allow you to switch a router motor between fixed and plunge bases.
 Fixed-base router |
 Plunge router |
 Kit with fixed and plunge bases |
Follow these tips when choosing any type of router:
●It should feel comfortable and balanced in your hands.
●The router should have the speed range for your needs. Single-speed routers are adequate when using small bits, but choose a variable-speed model when working with bits over 1½” in diameter.
●Select a router that accepts bits with both ¼” and ½” shanks. Over time you’ll invariably acquire bits with both shank sizes.
●The router should have enough power for the job. But keep in mind, more power means more weight and bulk. If you’re only cutting small profiles, such as ½” round-overs, then a laminate trimmer will be all you need. If you go with a large, powerful router, pick one with a “soft” start to eliminate the initial jerk when hitting the on switch.
Guideline #2: Select the proper bit.
|
Choosing a bit that produces a desired profile is the easy part. Simply go with a profile that’s aesthetically pleasing and in scale with your project. The hard part: buying a bit based on how it was made. You can still buy bits made from high-speed steel, but most of today’s better bits are made with carbide (completely carbide or with just carbide cutting edges). Generally, high-speed-steel bits are sold as “starter” bits. They’re good for a project or two, but dull quickly. Carbide bits hold a sharp edge many times longer. |
 Sets come with bits that create the most popular edge profiles. |
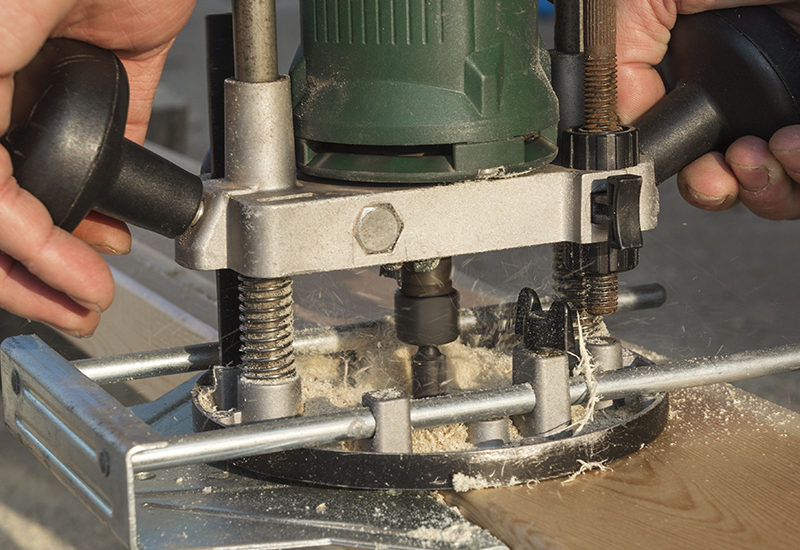
Guideline #3: Use the right feed direction.When routing outside edges with a hand-held router, always move the router in a counter-clockwise direction, as shown in the illustration. Moving in this direction counters the clockwise rotation of the router bit, keeping the cut under control. There’s a different rule for routing edges on inside openings. In that case, always move the router in a clockwise direction, as also shown in the illustration. If you’re working on a router table, always feed the workpiece from right to left. |
 Proper router feed direction is critical to smooth cuts. |
It’s best to rout end grain first. Then, if splintering occurs at the corners, the splintered area on the edge will typically be cleaned up when you make a pass along the edge grain.
Guideline #4: Watch your speed.
At all times you need to control two speeds carefully: the speed of the router bit and your feed rate (of the router in a handheld application or of the workpiece on a router-table).
Routers with variable-speed controls allow you to match the cutting speed to the diameter of the bit as well as the type of material being routed. Generally, the smaller the bit, the faster the recommended rotation speed. Refer to the rpm-to-bit-size recommendations listed in your router’s manual. Choose a router with effective electronic speed control – this feature helps your router maintain consistent bit speed under varying cutting loads.
Router or workpiece feed rate is the tricky part. You have to rely upon experience, feel, and the router’s sound. Go too fast and you’ll get an uneven cut with splinters. Go too slow and you’ll burn your workpiece. Variables that impact the speed rate include your router’s horsepower, the wood species (some woods, such as cherry, burn easier than others), size and type of bit, and depth of cut. If you consistently have problems with burning, try taking lighter cuts at faster feed rates.
Most beginners are cautious and tend to use a feed rate that is too slow. Bits are generally designed for faster feed rates. They stay sharper longer, eject chips better, cut cooler, and produce cleaner cuts if the rate is increased.
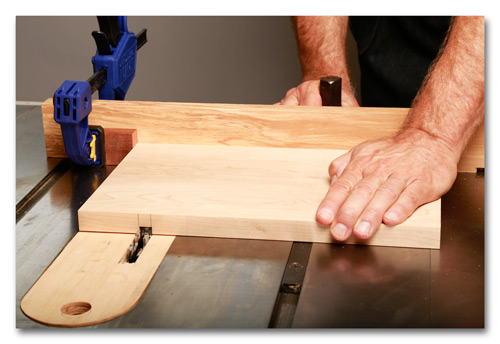
Guideline #5: Secure the workpiece.At all times you need to control two speeds carefully: the speed of the router bit and your feed rate (of the router in a handheld application or of the workpiece on a router-table). |
 Clamps keep your workplace in place. |