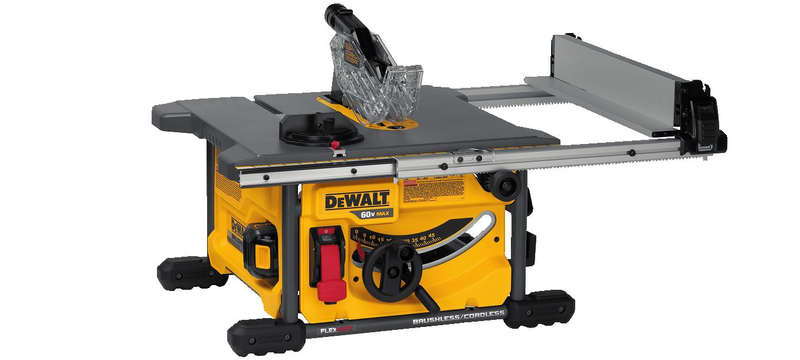
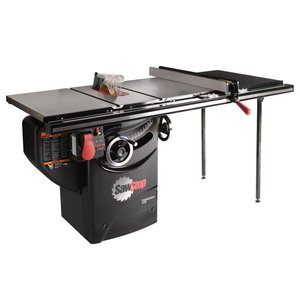
You’ll find a table saw near the center of most wood shops, and for good reason. This essential machine performs many tasks, such as ripping boards to width or sawing on-the-money miters, bevels, and joints. With the proper tools, a table saw can help you cut tapers, raise door panels, or even carve out wide coves in crown moldings. To make your saw as productive as possible, do these 10 easy things:
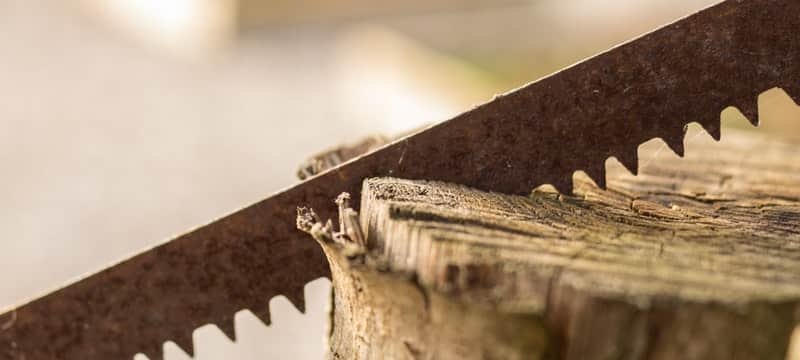
1. Use the right blade

There are specific blades for most table saw tasks. The two main types are crosscut blades with 60-80 teeth and rip blades with up to 30 teeth (in 10” diameter). Many specialty blades are designed for various materials and applications, such as cutting plywood or melamine. If you do a particular application a lot, you should invest in a blade specifically designed for that task. Otherwise, consider supporting in a good combination or general-purpose blade with 40-50 teeth that do an adequate job across various cuts and materials.
2. Give it plenty of room
When placing the table saw in your shop or at the job site, allow at least 4’ on either side of the blade and 8’ both in front and behind the blade. A little breathing room will help you work more effectively and safely.
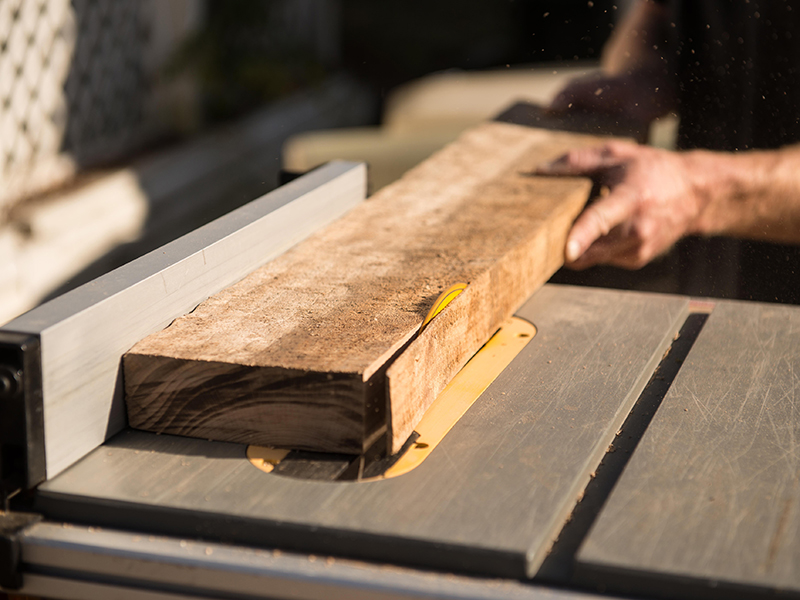
3. Provide outfeed support
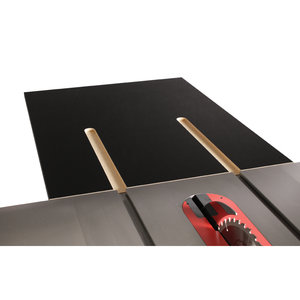
Longboards and sheet goods can be tricky to control through a cut. If the workpiece is not supported on the exit end of the saw, it will tend to lift up as you complete the cut. That’s a recipe for bad cuts and dangerous kickbacks. To avoid that from happening, install an outfeed extension. With it, the workpiece will be well-supported throughout the cut, allowing you to make clean and safe cuts. Many manufactured outfeed extensions lift off or fold down when not used to save on space.
A roller stand provides another option for outfeed support. Most stands have a single roller that helps the workpiece glide smoothly. The height is adjustable, and they collapse for storage.
4. Keep the tabletop clean
Wood must feed smoothly and steadily across your saw’s tabletop for clean cuts. To make that happen, use a shop vacuum to suck away all the chips and sawdust from the top, miter slots, and fence. Then, apply paste wax or a spray lubricant for woodworking tool surfaces. The coating will also help prevent rust on cast-iron surfaces.
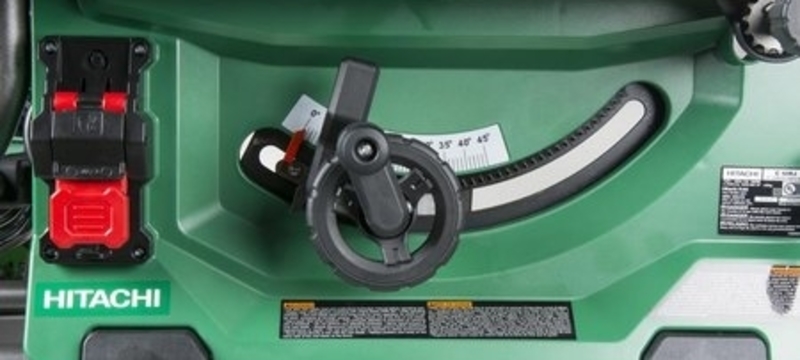
5. Align the blade
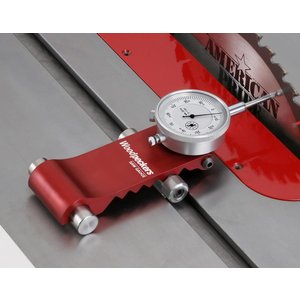
The blade and fence must parallel the miter slots for clean, burn-free table saw cuts. To ensure that, measure the distance between the slot and the front of the blade using a precision measuring device. Then, measure the distance between the slot and the back of the blade. Both measurements should be the same. If they’re not, you need to either loosen and adjust the table or do the same to the trunnions that hold the motor/blade assembly, depending on your saw type. Refer to your saw’s owner’s manual for these adjustments.
With the blade parallel to the miter slots, check to see if the fence is also aligned parallel to the slots. Again, you can use the precision measuring device to measure the distance between the slot and the fence at the front and back. You’ll need to adjust the wall if these measurements don’t match. With the blade and fence parallel to the miter slot, rest assured the fence and blade are also parallel.
6. Invest in a dado set
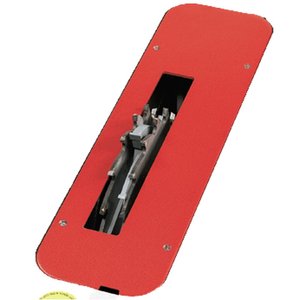
With a dado set, you can make a lot of joinery cuts such as dadoes (cross-grain channels), grooves (with-the-grain channels), tenons, locked rabbets, box joints, and tongue-and-grove joints. You’ll be amazed how much joinery is possible with a table saw. A stacked dado set consists of two conventional-looking “outside” blades with “chippers” of various thicknesses stacked between them. You can infinitely and precisely adjust the thickness of the set’s cutting width by adding or subtracting the chippers and thin paper, plastic, or metal shims.
You need to use a Dado insert that will accommodate the width of your stacked Dado blades. (See red insert in photo.)
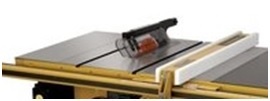
7. Use dust collection

You need a means to control the dust generated by your table saw. Not only does this keep your shop clean and save you time during the cleanup, but it also makes for a healthier shop environment. What’s more, dust collection improves the performance of your saw by keeping miter lots clean and allowing the motor to run cooler.
Get a portable dust collector like the one above for stationary saws or a cyclone collector. These powerful machines suck the dust from your table saw through a hose attached to a port on the back or side of the saw. Most portable table saws have a smaller-diameter port for connecting a shop vacuum.
8. Level the throat plate
A throat plate not flush with the saw’s tabletop can catch the edge of a workpiece and ruin a cut. To level the throat plate, first remove it and vacuum all debris from its opening. Return the plate and lay a straightedge over its top to see if it is flush. If it isn’t, use the plate’s adjustment screws to raise or lower it as necessary.
9. Set the correct blade height
A table saw blade should be positioned high enough to run cool without burning but not raised so high it causes a safety concern. Use this rule of thumb: raise the blade so there’s about 3/16” of the blade exposed above the workpiece at the blade’s apex. (At this height, one entire saw tooth is usually revealed at the apex.)
10. Upgrade your miter gauge
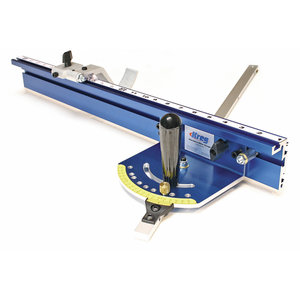
Consider buying an aftermarket miter gauge to provide solid support to larger boards and increase accuracy. Look for one that has a long, reliable extension to support the workpiece. A gauge like the one above has an adjustable stop block designed to cut multiple pieces to the same length. This gauge also has positive stops at 0, 10, 22-1/2, 30, and 45 degrees for fast, repeatable cuts.
View more Tool Tips