DIY Halloween Coffin Lid
Decorating for Halloween has become a popular past-time when the leaves begin to change colors. We have created an old fashioned coffin lid for you to add to your indoor or outdoor decorations. This build leaves some decisions to the creator and these decisions will add to the overall look of the project. We were lucky enough to be supplied the tools used by Milwaukee Tools and the specific tools listed are not mandatory for this build. You can use the tools you currently have in your workshop but it sure made it more fun using these Milwaukee Cordless Tools.
Material List:
(5) 1x6x8′ Board
Small container of Walnut Stain
1# #6×1-1/4″ Drywall Screws
Tools Used:
Milwaukee M18 Cordless Drywall Screw Gun
Milwaukee M18 Circular Saw
Milwaukee Ultra Fine Point InkZall Marker
Milwaukee 25′ Tape Measure
Empire 48″ Level
Building the Coffin Lid:
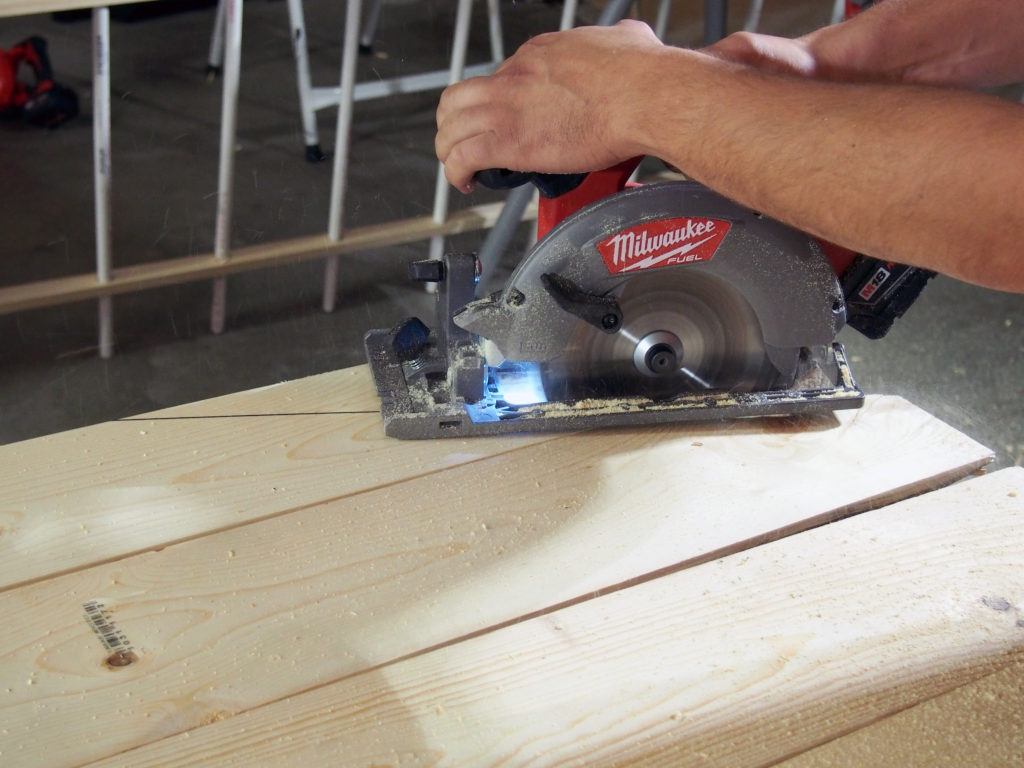
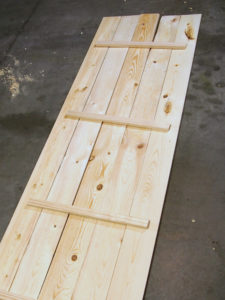 We start off by marking all (5) of the 1x6x8′ boards at 6′ using the Milwaukee tape measure and fine point InkZall marker. Using the Milwaukee M18 Cordless Circular cut all of them to the new length. This cut does not need to be square because it adds to the overall effect of an old fashion coffin lid. Once all 5 have been cut down to 6′ lay them flat on the ground next to each other. It is not necessary to have them perfectly lined up, again, we are looking for an old fashioned look. Take (2) of the 2′ pieces cut from the full 8′ board and lay them across the 6′ boards, (1) 12″ from
each end. Using the Milwaukee M18 Cordless Drywall Screw Gun attach the 2′ backer to each 6′ board using #6-1-1/4″ Drywall Screws so they are now all connected.
Creating the Coffin Lid Shape:
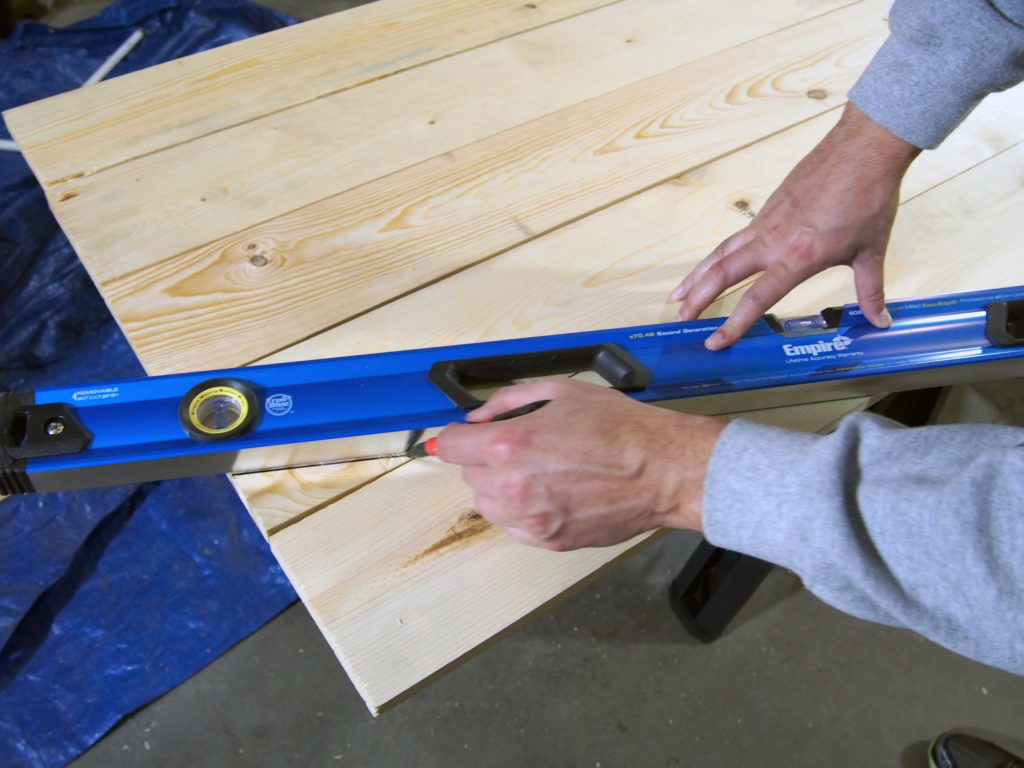
Flip the Coffin Lid over and designate one side as the top and the other as the bottom. Measure 6-1/2″ from one top corner towards the other top corner and repeat for the other top corner. You will now have 2 marks at the top of the coffin lid, each being 6-1/2″ towards the middle of the top edge. From those top corners measure 14″ down the edges towards the bottom corners and connect each corners points with the Empire 48″ Level and Inkzall marker. We now make a mark from each top corner down the edge towards the bottom corners at 20″ and from the bottom corners we will make a mark at 8″ towards each other. This second set of marks can be connected by using the level and the Inkzall marker.
Using the Milwaukee M18 Cordless Circular Saw cut along the marker line to create the shape of the Coffin Lid. Take notice of the screw placement on the backer boards to make sure you do not cut through them. If a screw is in the cut line remove the screw and move it closer to the center of the Coffin Lid so it will not be in the cut line. Once all 4 cuts have been made you now have the final shape of the Coffin Lid.
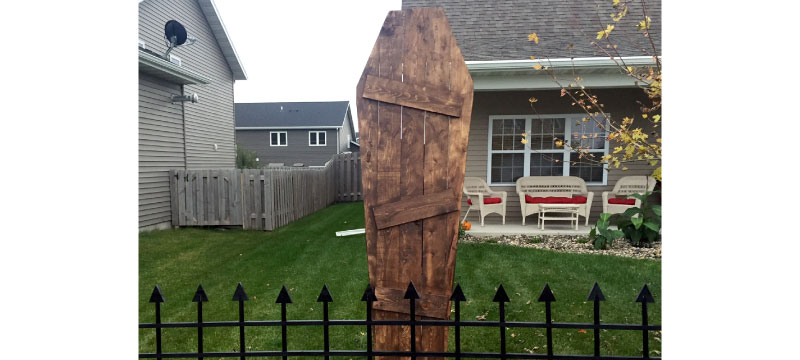
Finishing the Coffin Lid:
The Dark Walnut Stain will give you the effect of an aged Coffin Lid. Wipe the stain onto the Coffin Lid and the (3) 2′ pieces that were left over from your initial cuts. Using a rag with the stain will allow you to leave swirl marks and have some areas lighter or darker than others.
Once the stain has dried and you have obtained the look you want attach the leftover (3) 2′ pieces to the finished side of the Coffin Lid using the Milwaukee M18 Cordless Drywall Screw Gun using the drywall screws. We suggest adding one at the top, upper middle, and bottom that are slightly angled in different directions.
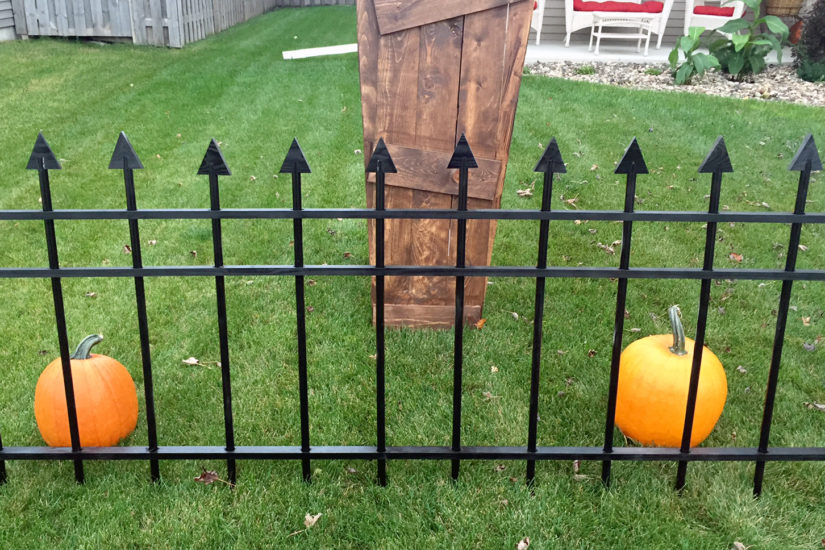
The Coffin Lid is now ready to be added to your Halloween collection.