
A lot of homeowners love the idea of assisting the general contractor with their bathroom remodeling project, but many are afraid they would just be in the way. Discuss this with your contractor; most don’t mind if you want to get your hands a little dirty and learn some home maintenance along the way! Today we want to go over the basics and general process of toilet installation. Please refer to the instruction and installation manual for your new fixture for the most accurate and detailed installation process.
Replacing the toilet can be done as part of a bathroom remodeling project or as a solo adventure if your old toilet breaks.
Here are a few hand tools you may need:
- Sponge
- Bucket
- Slotted Head Screwdriver
- Adjustable Wrench
- Slip-joint Pliers
- Rag
- Scraper/Putty Knife
- Gloves
And you may need these materials:
- Wax seal
- Toilet water supply tube
- Toilet fill valve (if not included with your new toilet)
Removing the Old Toilet
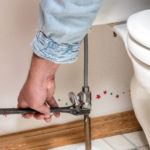
Step 1: Turning off the Water — Locate the water supply valve for your toilet and turn the water off.
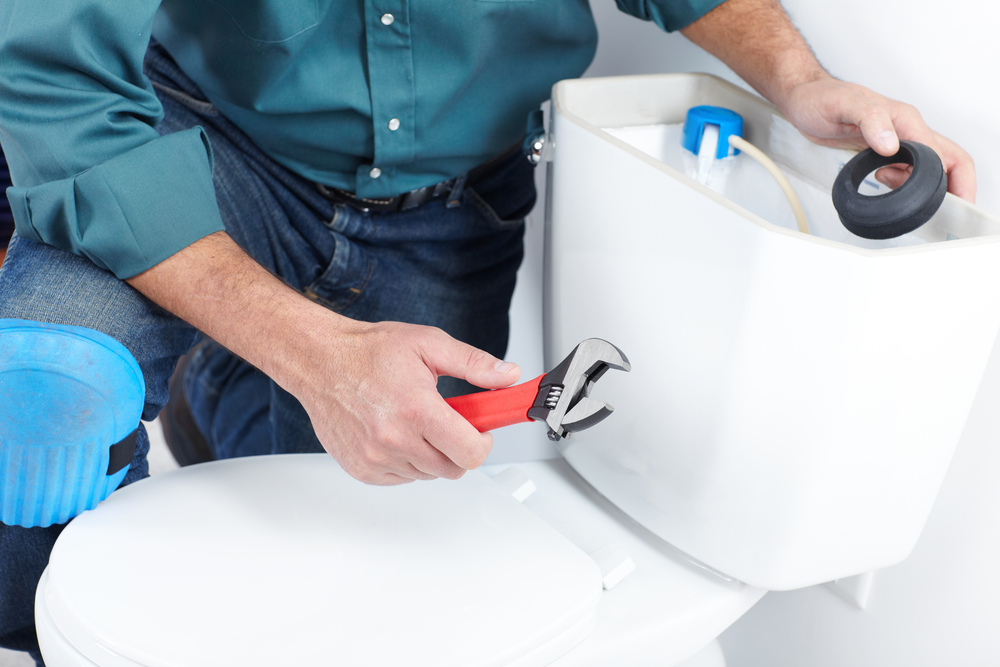
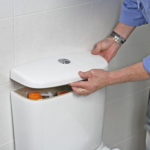 Step 2: Remove the Tank Lid and Drain the Tank — Remove the lid from the water tank; don’t worry, there’s nothing dirty about this part of the project. To drain the majority of the clean water from the tank, flush the toilet and use a sponge to dry up the excess water. Remove the water line from the water supply valve leading to the old toilet fill valve by loosening the supply line nuts with an adjustable wrench or slip-joint pliers.
Step 3: Remove the Tank from the Back of the Toilet — Two-part toilets can be taken apart to make them lighter to carry. There are typically two bolts holding the tank onto the bowl. A screwdriver, adjustable wrench, or slip-joint pliers can be used to remove them. Separate the tank from the seat and dispose of it properly.
Step 4: Remove the Caps and Nuts from the Base — The toilet is secured to the floor with bolts and nuts, and the nuts are covered by a plastic cap. You may have to break the nut or cut the bolt to remove it entirely.
Step 5: Remove the Toilet — Rock the toilet back and forth until you feel it tilt and break away from the existing wax seal. When removing the old toilet from the bathroom be careful to keep it in an upright position, there may be water in the trap that could leak out while carrying it out for disposal.
Step 6: Stuff a Rag in the Drain Opening — Prevent sewer odors from coming into the bathroom by plugging the drain with a rag, this also prevents you from dropping tools and hardware into the drain.
Step 7: Remove the Wax Seal — Remove the old wax seal. Scrape all of the wax off of the flange using a flat screwdriver or scraper/putty knife and inspect it for cracks. Replace it if necessary.
Installing the New Toilet
 Step 1: Install New Bolts and New Wax Seal — Install the new toilet bolts into the flange and press the wax seal onto the bolts so they’re securely held upright.
Step 2: Install the New Tank onto the New Toilet — Attaching the new tank to the new toilet will allow you to properly line up the toilet for installation. The installation manual for your new toilet will give detailed information on the proper steps for your particular unit.
Step 3: Install the Newly Assembled Toilet onto the New Wax Ring — Line up the bolts with the mounting bracket holes of your toilet and slowly set the toilet onto the wax ring pushing down firmly to make sure it has properly sealed. Tighten the nuts onto the bowl so that the toilet is secured with an adjustable wrench or slip-joint pliers and cover with the new plastic caps.
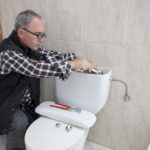
Step 4: Install the Toilet Fill Valve — Your new toilet may have this installed at the factory, if not, follow the instructions provided with the fill valve you purchased.
 Step 5: Reconnect the Water — Reconnect the water supply tube to the water supply valve and the tank, tighten all connections and check for leaks. Turn the water supply valve back on to refill the tank, and again check for leaks. If any leaks are discovered confirm that the connections have been tightened. If the connections are tight you may need to use Plumbers Teflon tape on the threads to stop the leak.
When the operation of the Toilet checks out and does not leak, voila! You’re finished!


One Comment
rachel frampton
April 7, 2020 at 3:03 pmI’ve been wanting to have my toilet replaced, that’s why I’m currently looking for a high tech toilet that may replace it. I never knew that removing a toilet is quite complicated especially since the tank will be separated from the seat before disposing of it properly. Anyways, I’ll keep in mind to stuff rag in the drain opening so sewer odor will be prevented.